Start here
Getting started
This guide takes you from a fresh account to an open strategy workspace: create an account, sign in, learn your way around the app, and set up your first project and workspace. Allow about ten minutes.
Create your account
VeriRun Lab is currently in beta. Depending on how your instance is configured, registration is either open (email and password only) or needs an invite code — the sign-up form shows the code field only when one is required. If the form asks for a code and you don't have one, ask the person who runs your VeriRun Lab instance.
- Open the registration page. Click Open the app on this site, then Sign up on the sign-in page. Signing up is a short wizard — a progress bar across the top shows the four steps and which one you are on.
- Read and agree to the Terms of Use. The first step shows the Terms of Use & Disclaimers in full. Tick the box and press Agree & continue. Creating an account is not possible without this, so it comes first; your acceptance is stored on your account afterwards, and you are never asked again.
- Enter your details. The Account step asks for your Email and a Password — plus your Invite code when your instance is invite-only. Where the instance has enabled it, you can sign up with a provider account (for example Google) from this step instead.
- Pick a strong password. Passwords must be at least 15 characters. The form also checks your choice against lists of passwords exposed in known data breaches and will refuse one that has appeared there — a long, unique passphrase sails through.
- Verify your email. After you press Create account, the app sends a verification link to your inbox. Click it, and your account is active.
- Choose your plan. Every new account picks a tier — Explorer (free), Trader or Quant Pro — including accounts created with an invite. Billing is not live: picking a paid tier charges nothing and only sets the quotas your account runs under; you can change tiers later from Settings → Your plan. The tiers and their exact quotas are on the pricing page.
If you stop partway you can close the tab and come back — once your account exists, you resume on the step you were on. Before it exists nothing you did is stored, so stopping on the terms or the account form starts you again at the terms.
Sign in
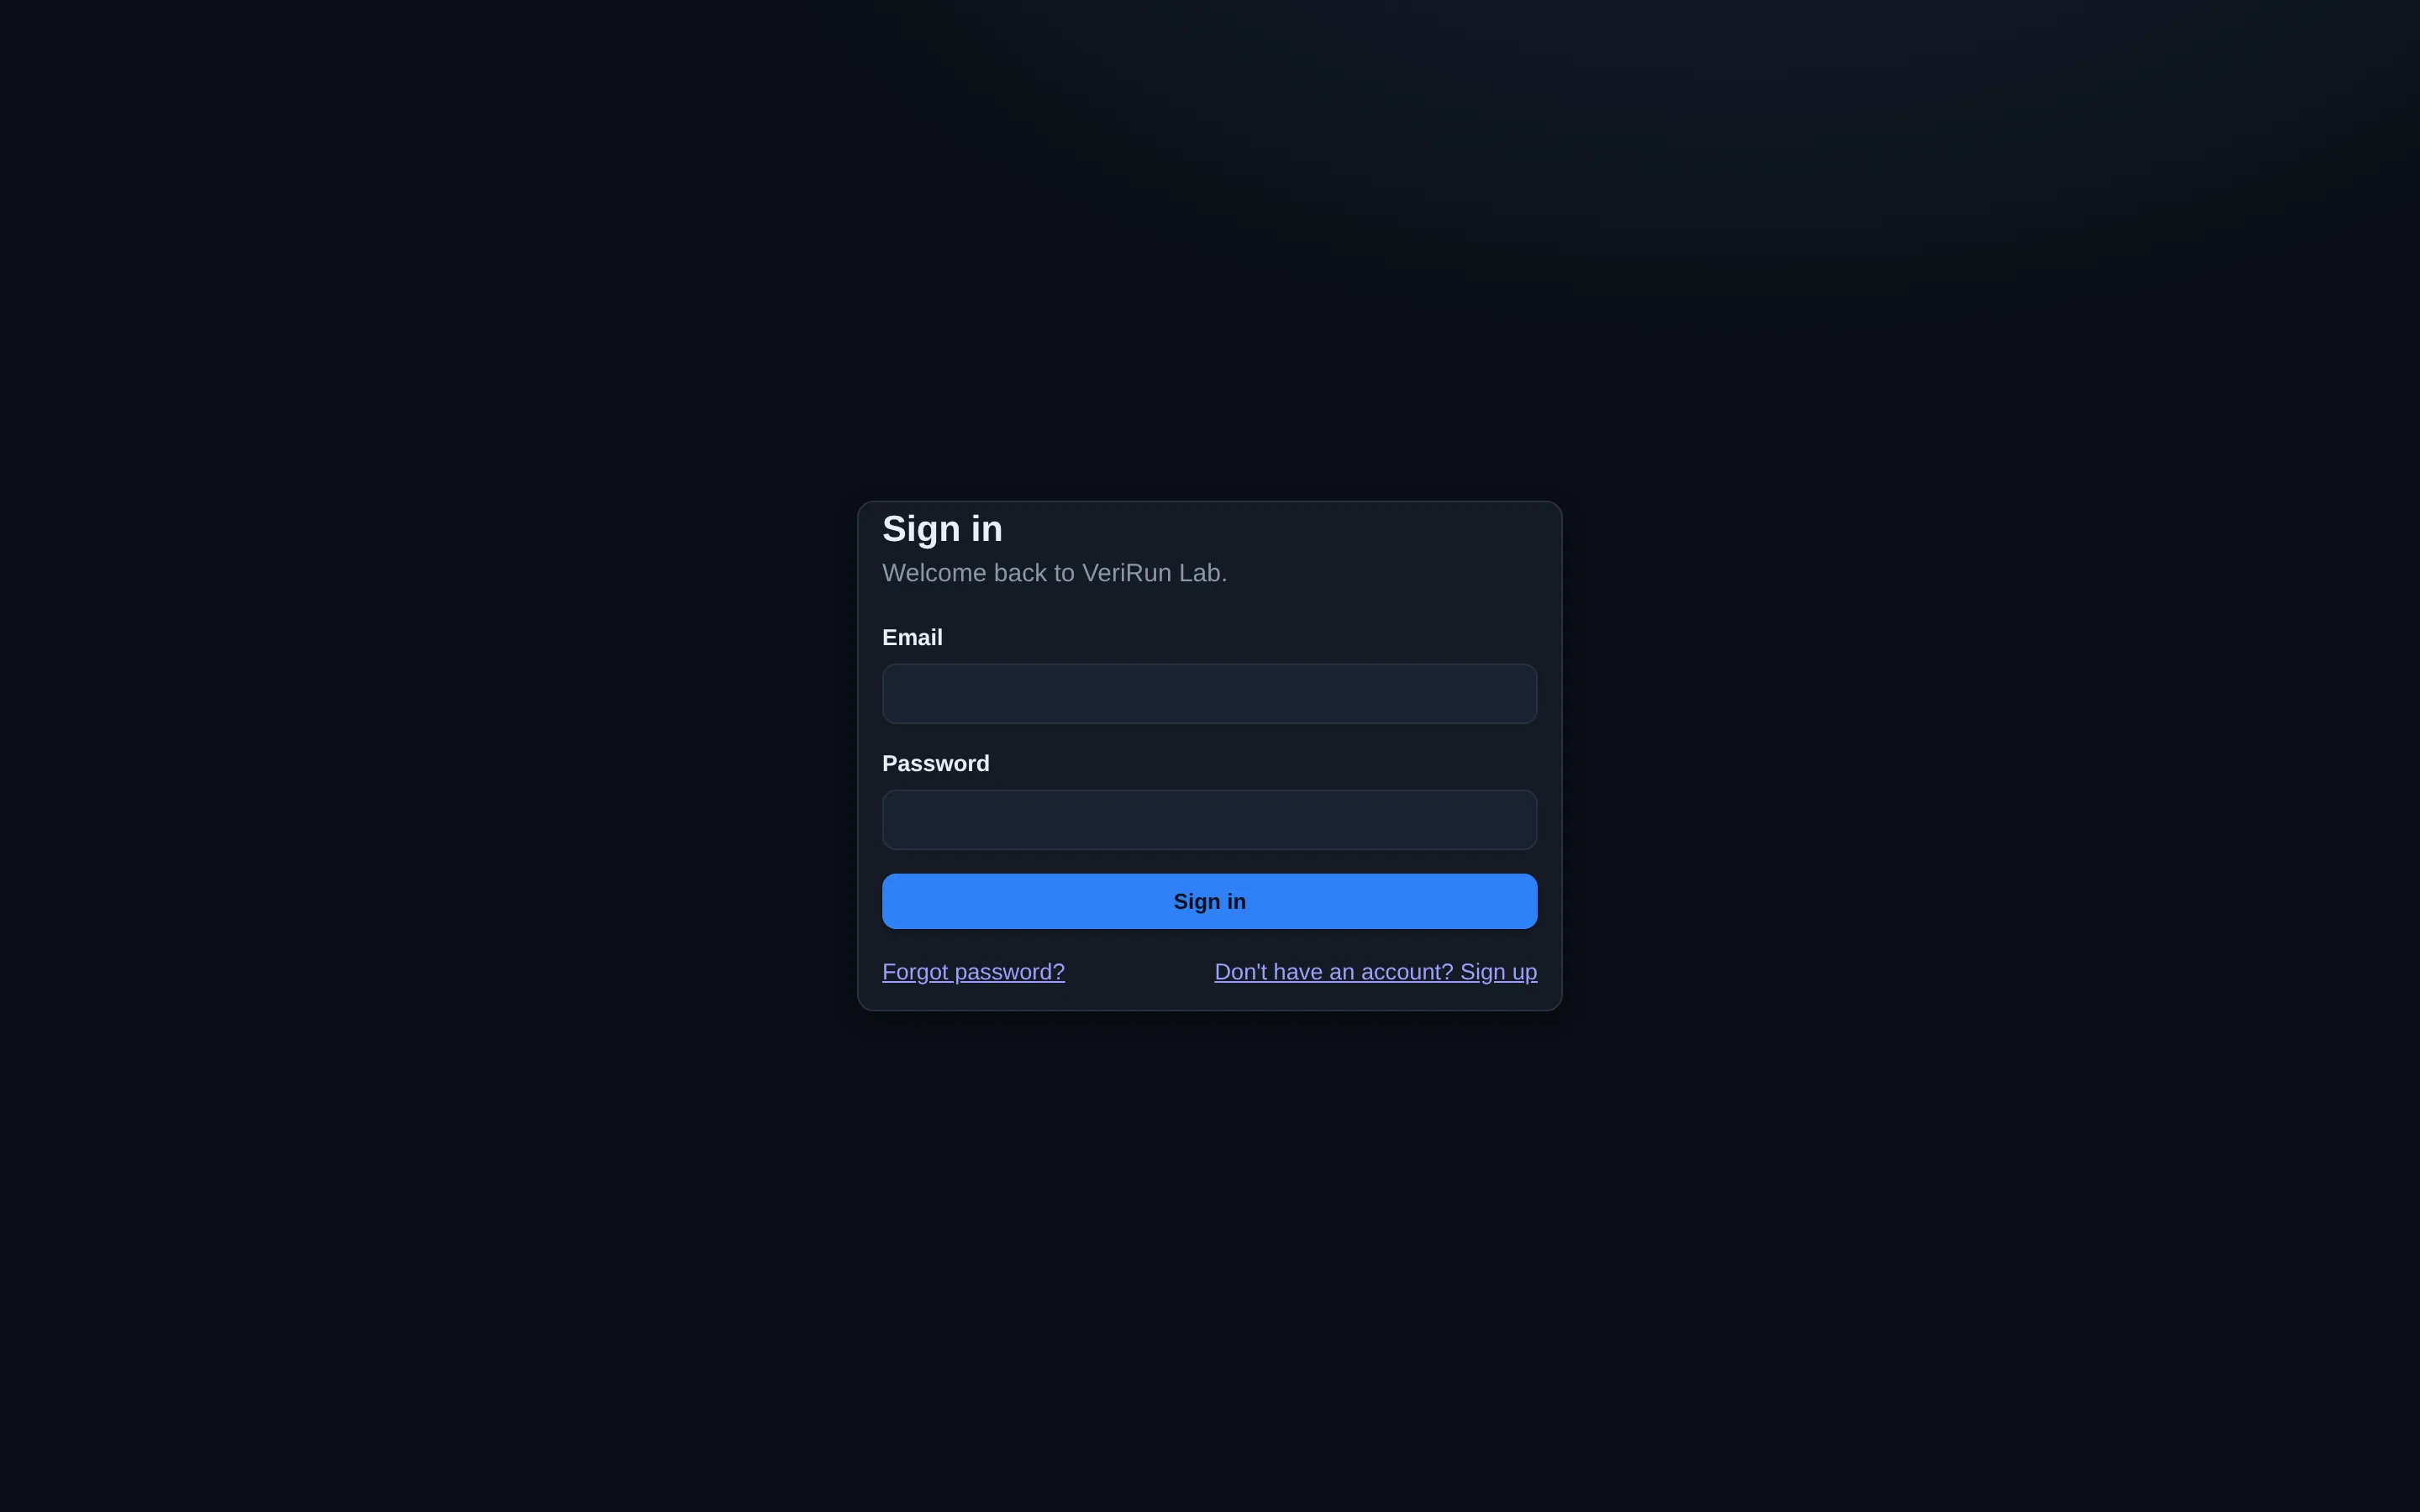
The sign-in page asks for your Email and Password. Two things worth knowing:
- A wrong email or password shows “Incorrect email or password.” — the app deliberately does not reveal which half was wrong.
- Repeated failed attempts temporarily throttle sign-in for your address. If you see a “too many attempts” style message, wait a little while and try again — details in the FAQ.
Forgot your password? Use the Forgot password? link — you'll get an email with a reset link.
Two-factor authentication
The app supports two-factor authentication with a standard authenticator app (six-digit codes). If it is enabled on your account, you'll be asked for a code right after signing in. We recommend turning it on: it is the single best upgrade to your account's security.
Find your way around
Signing in lands you on Home — a dashboard with a greeting, quick actions and your recent activity; your first visit also offers a short welcome tour. From there, three things orient everything else:
- The left sidebar is the main navigation. At the top, the Platform group holds the research tools this documentation focuses on — Projects, Workspaces, Runs, Data, Optimization, Screener, Firm Rules, Eval Tracker and Integrity. Below it, grouped sections cover planning calculators, the journal, learning material and settings. The sidebar can be collapsed with the « button, and the bottom of it holds your user card, the light/dark theme toggle and Sign out.
- The search box at the top (Ctrl+K / Cmd+K) doubles as a command palette: type to jump to any section, run actions, or ask the AI assistant.
- The ? key opens the keyboard-shortcuts reference at any time. Alt+← and Alt+→ move back and forward through your navigation history.
In-app help
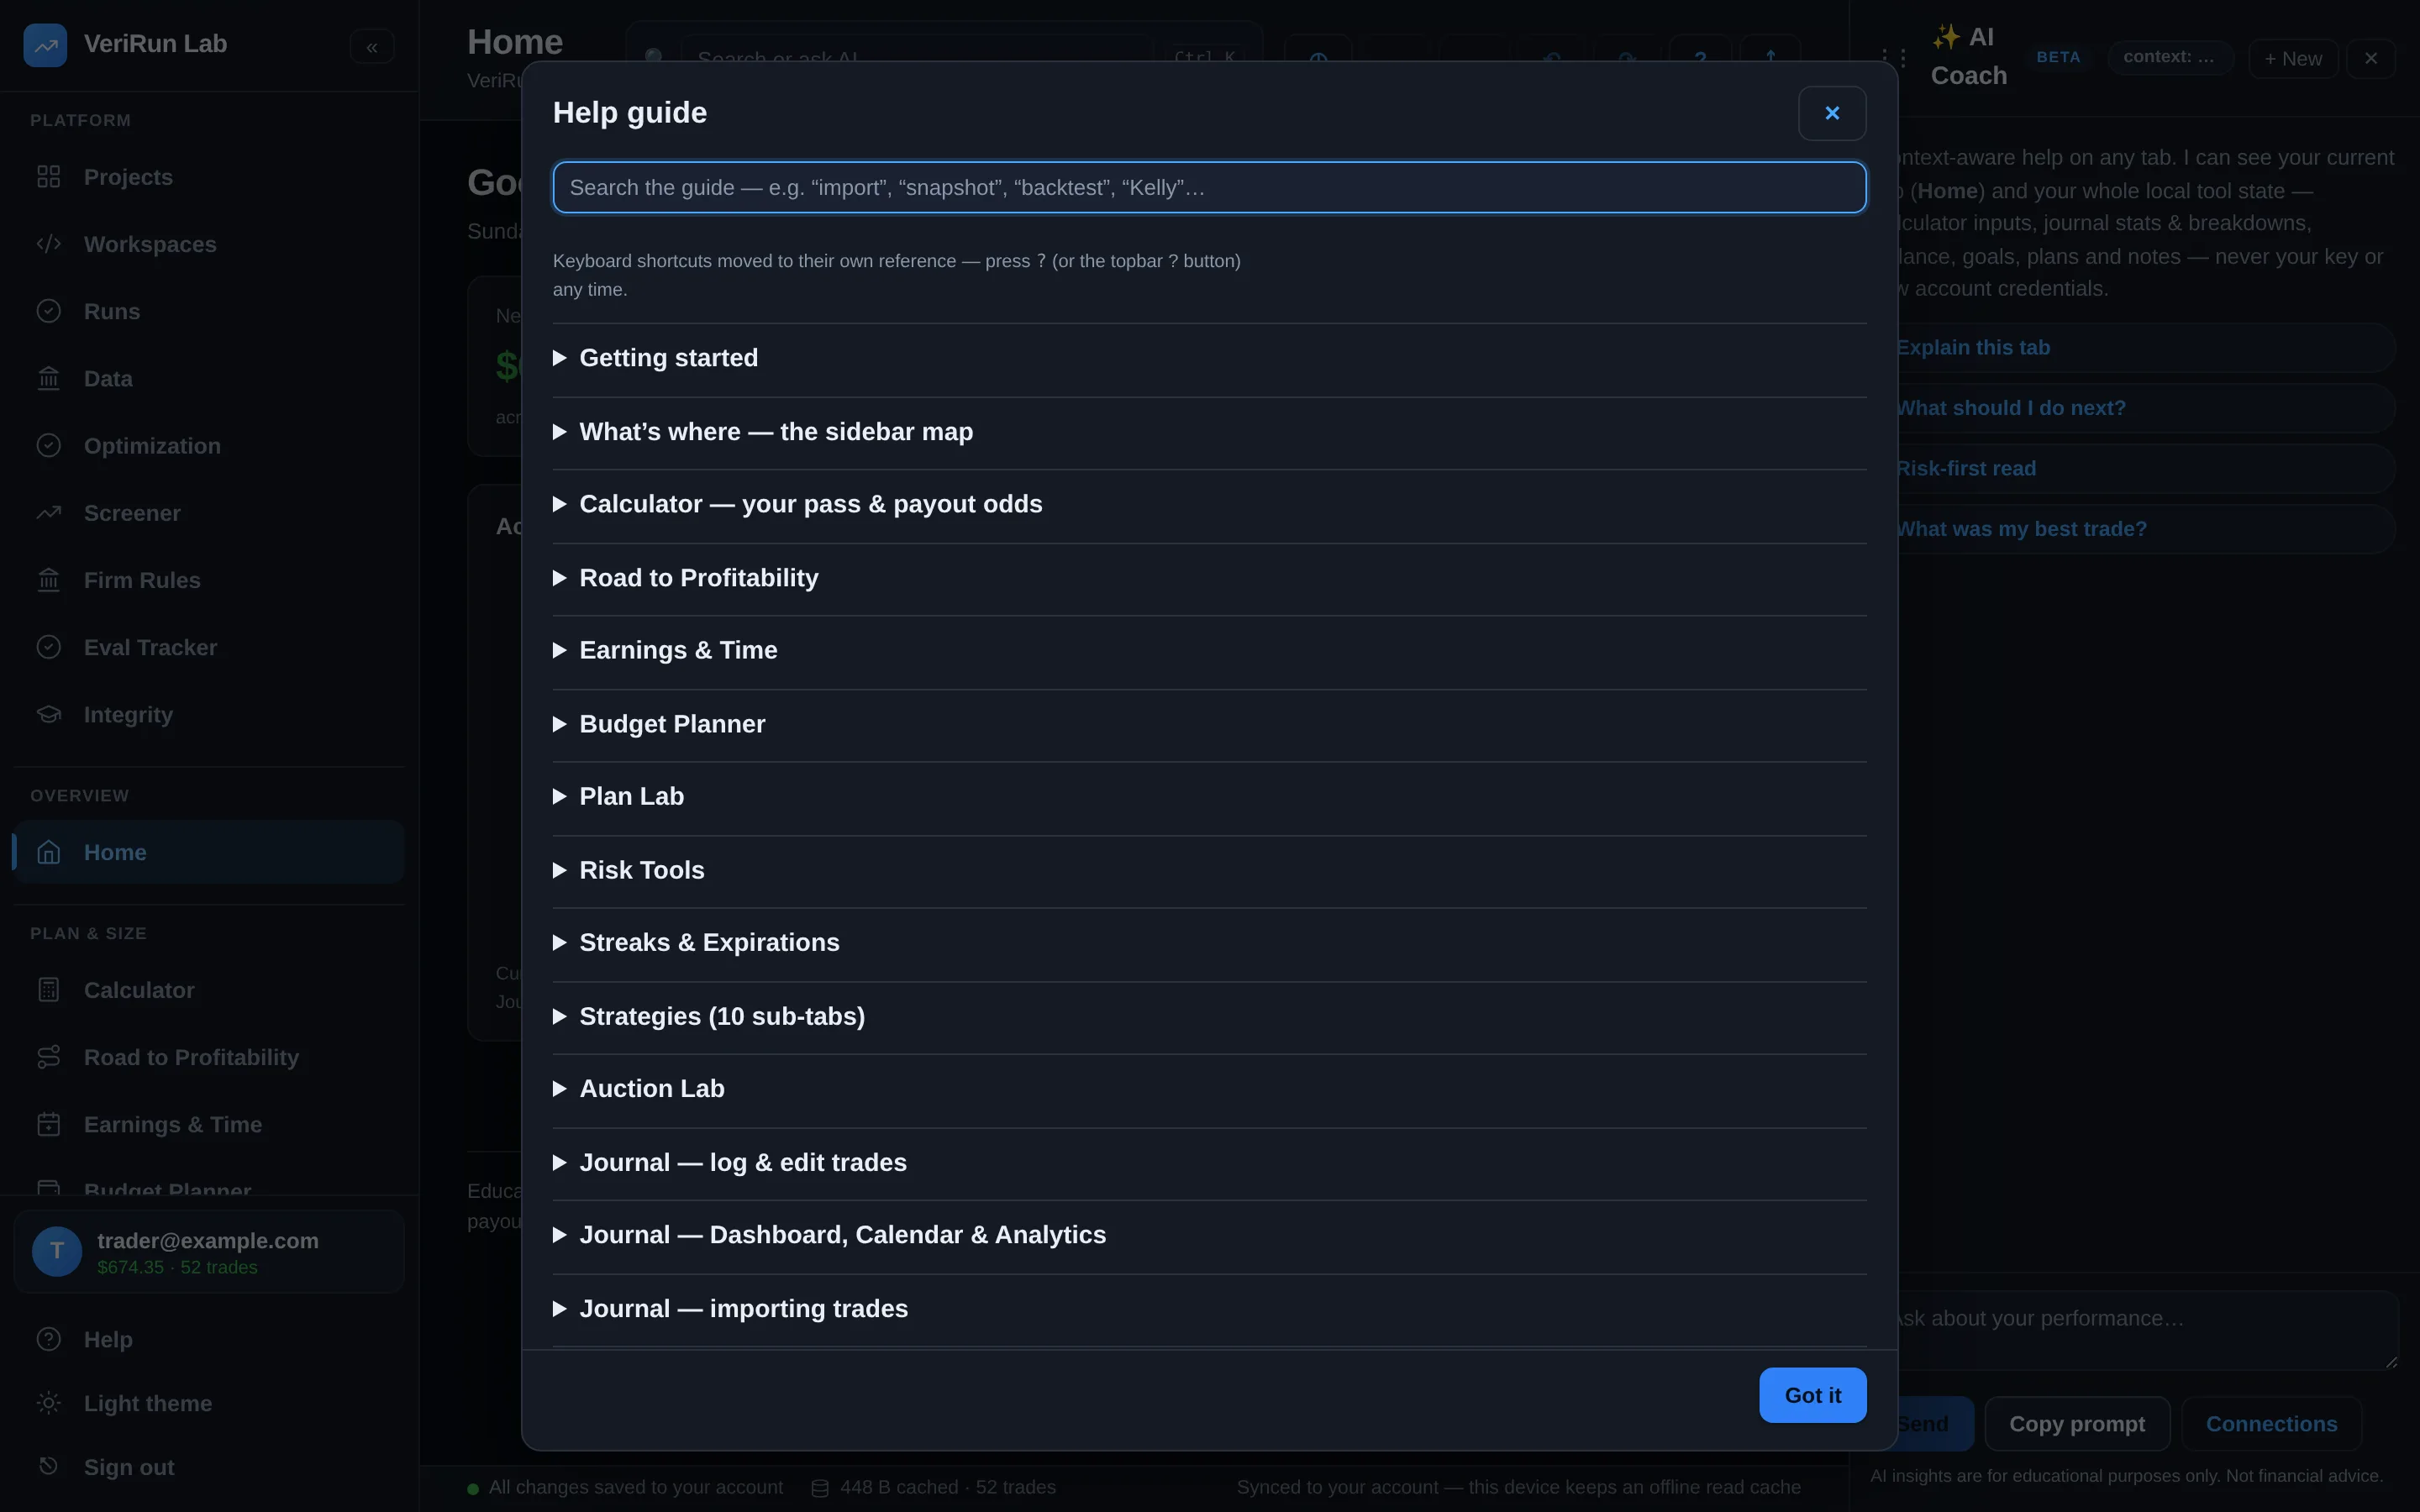
The Help entry in the sidebar opens a compact guide with quick-start steps, a map of the sidebar, and links back into these docs — useful when you don't want to leave the app.
Create a project
A project is the container for related research: its strategies, its workspaces, its runs and the people collaborating on them. Most people start with one project per market or per broad idea (“ES opening range”, “NQ order-flow fades”).
- Open Projects in the sidebar's Platform group.
- Click New project. A dialog titled New project asks for a name. Give it something you'll recognize in six months, then press Create project.
- Open the project. The project overview shows its strategies, members, workspaces and recent runs — it is the hub you'll come back to.
Create a workspace
A workspace is where strategy code lives: a small set of files you (or the AI Strategy Builder) edit, test and run. Each workspace belongs to a project.
- Click New workspace on the project overview. A dialog titled New workspace asks for a name; press Create workspace.
- Open it. You land in the workspace IDE: a file tree on the left, the editor in the middle, and a history/AI panel on the right. A fresh workspace is empty — the editor offers Create strategy with AI, or you can create files by hand.
- Choose your path. To have the AI draft a strategy from a plain-English idea, continue with the AI Strategy Builder guide. To write code yourself, continue with Writing strategies by hand.
Everything is saved for you
The workspace autosaves as you type (watch the Saved / Saving… chip in the header) and keeps a snapshot history you can diff and restore at any time — you cannot lose work by closing the tab.